Installation Guidelines
90° Bending Step-By-Step Processs
Looking to achieve a perfect 90° bend with ONEDTL Thermolaminate? You're in the right
place.
Below, you’ll find a detailed instructional video along with a step-by-step
guide to help you carry out the process with ease and accuracy.
Step 1
Begin by marking accurate measurements on the ONEDTL Thermolaminate sheet using a measuring tape and right-angle scale. Fit a base plate to the bottom of your tile/wood cutting machine for stability.
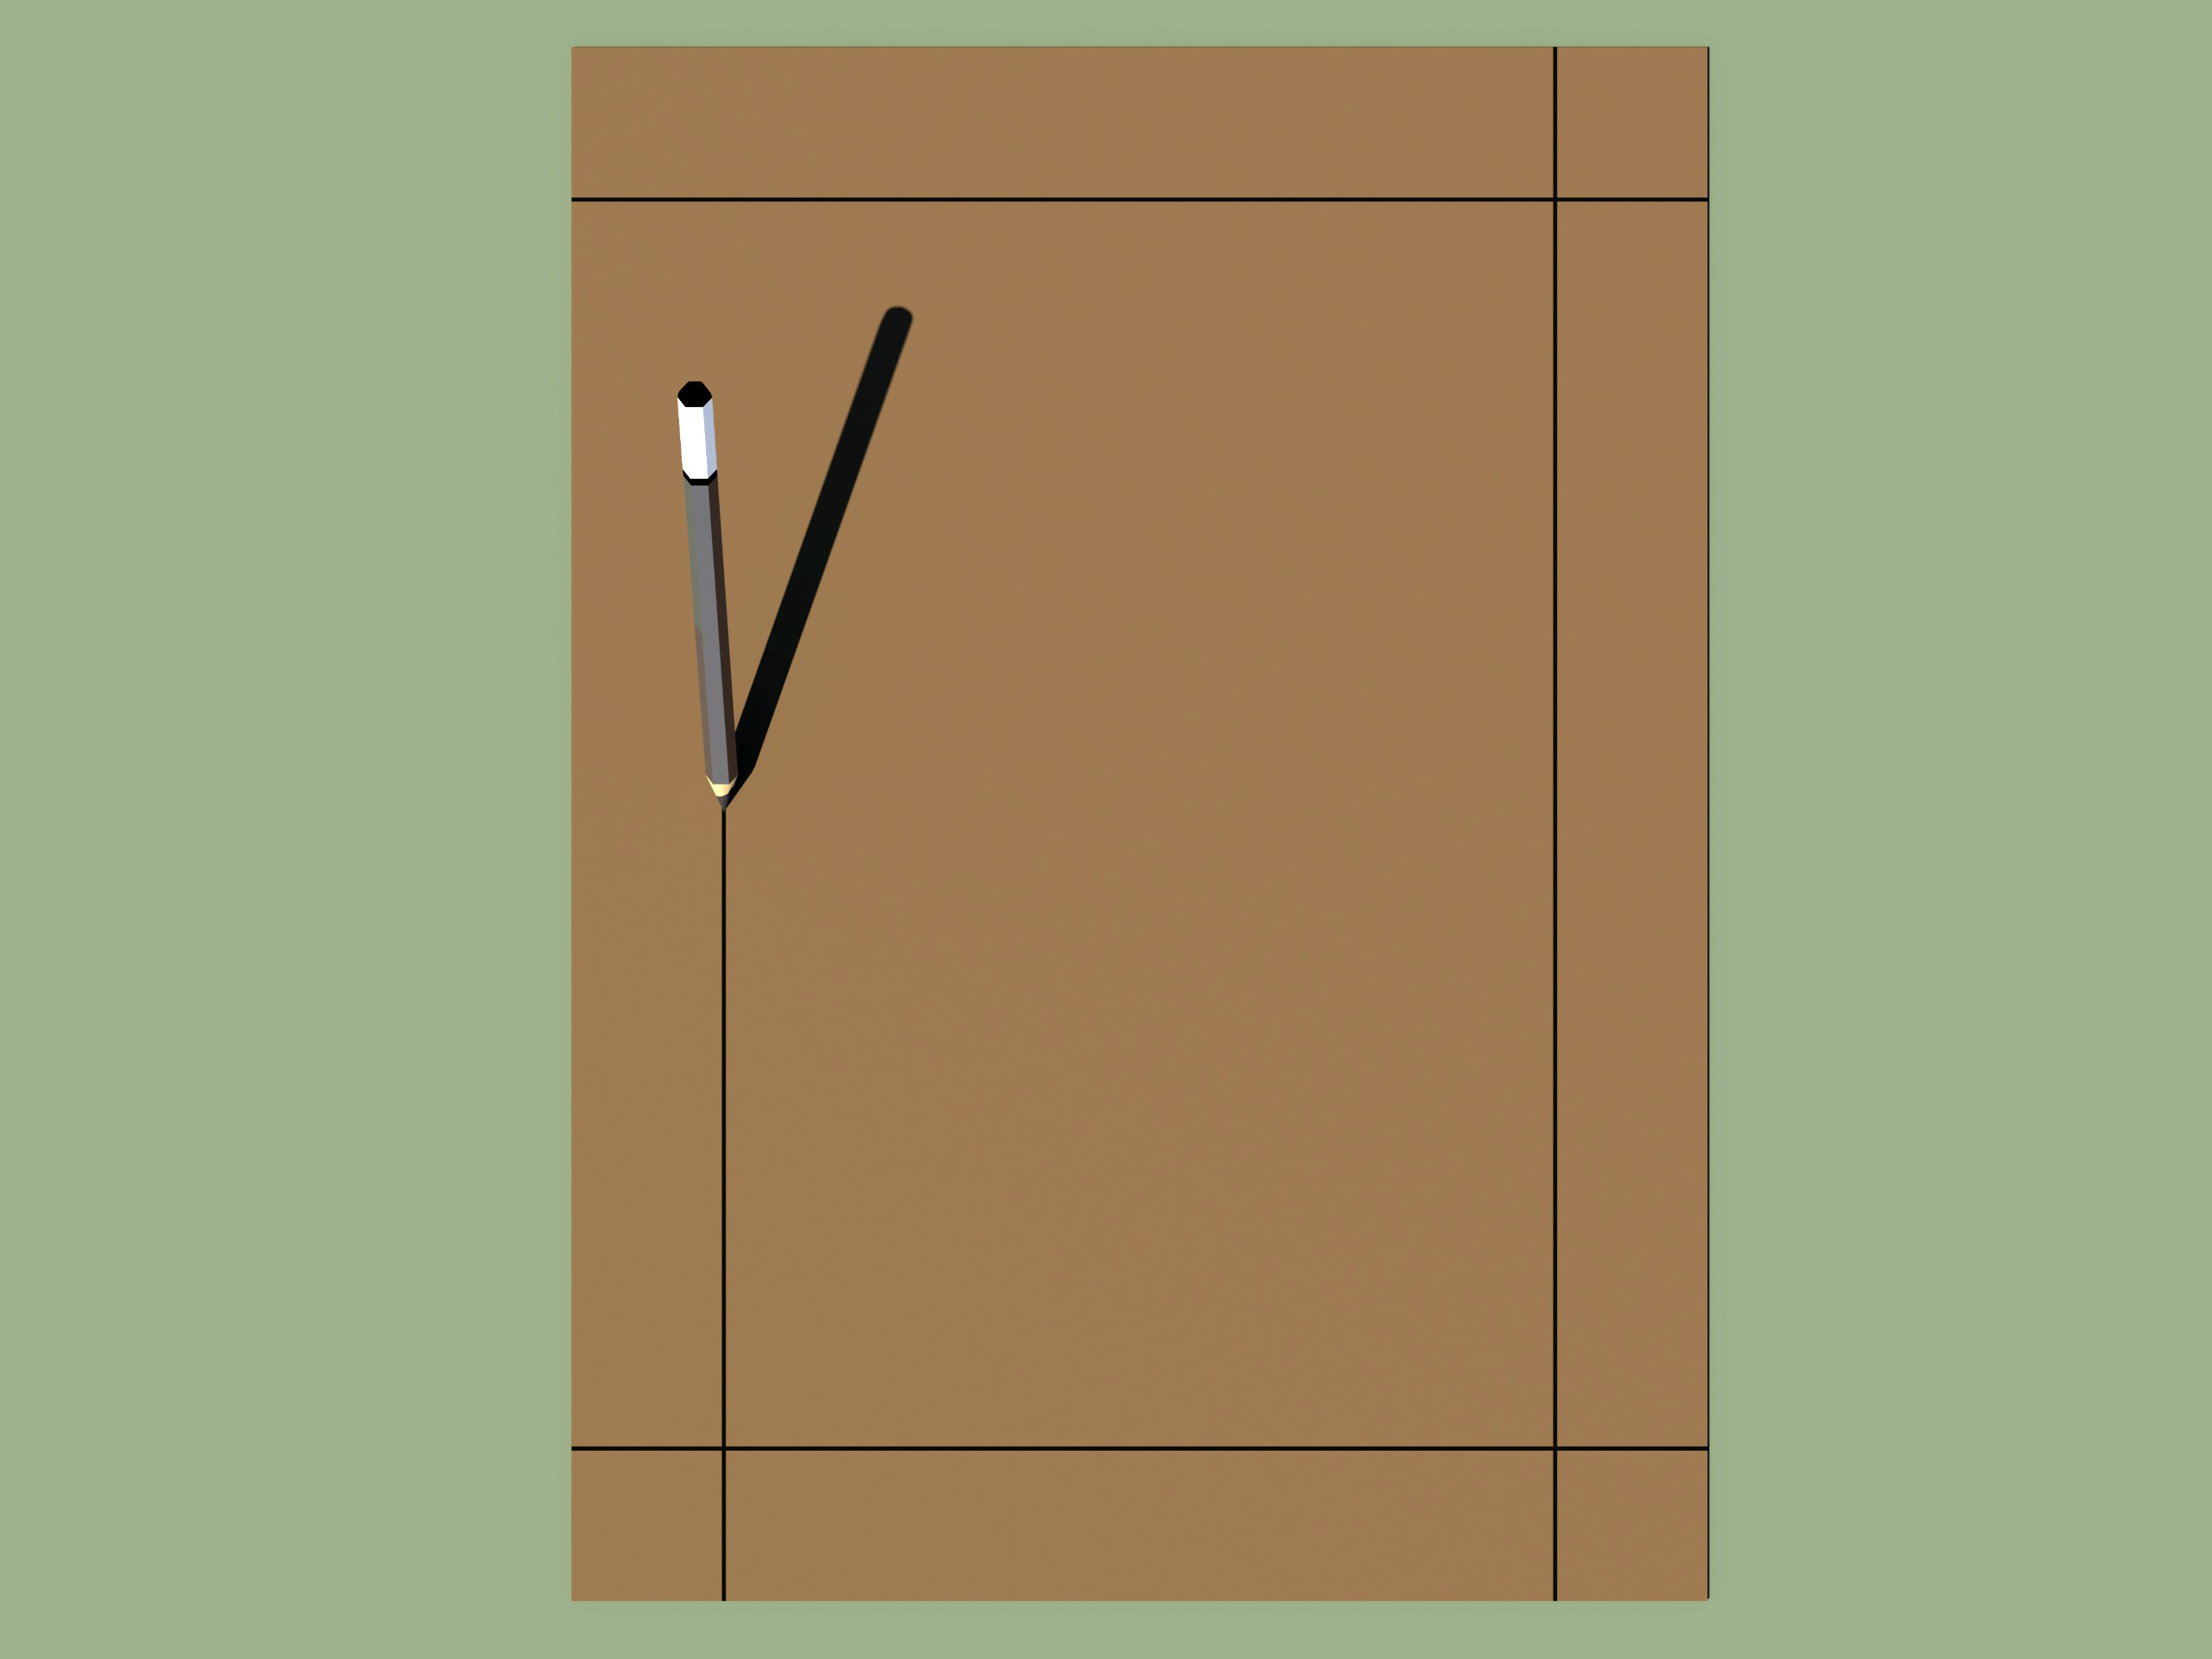
Precision measurement marking on Thermolaminate sheet
Step 2
Using a universal V-groove cutter (75 mm diameter, 4 mm thickness), create a groove along the marked line — 0.6 mm deep and 4 mm wide.
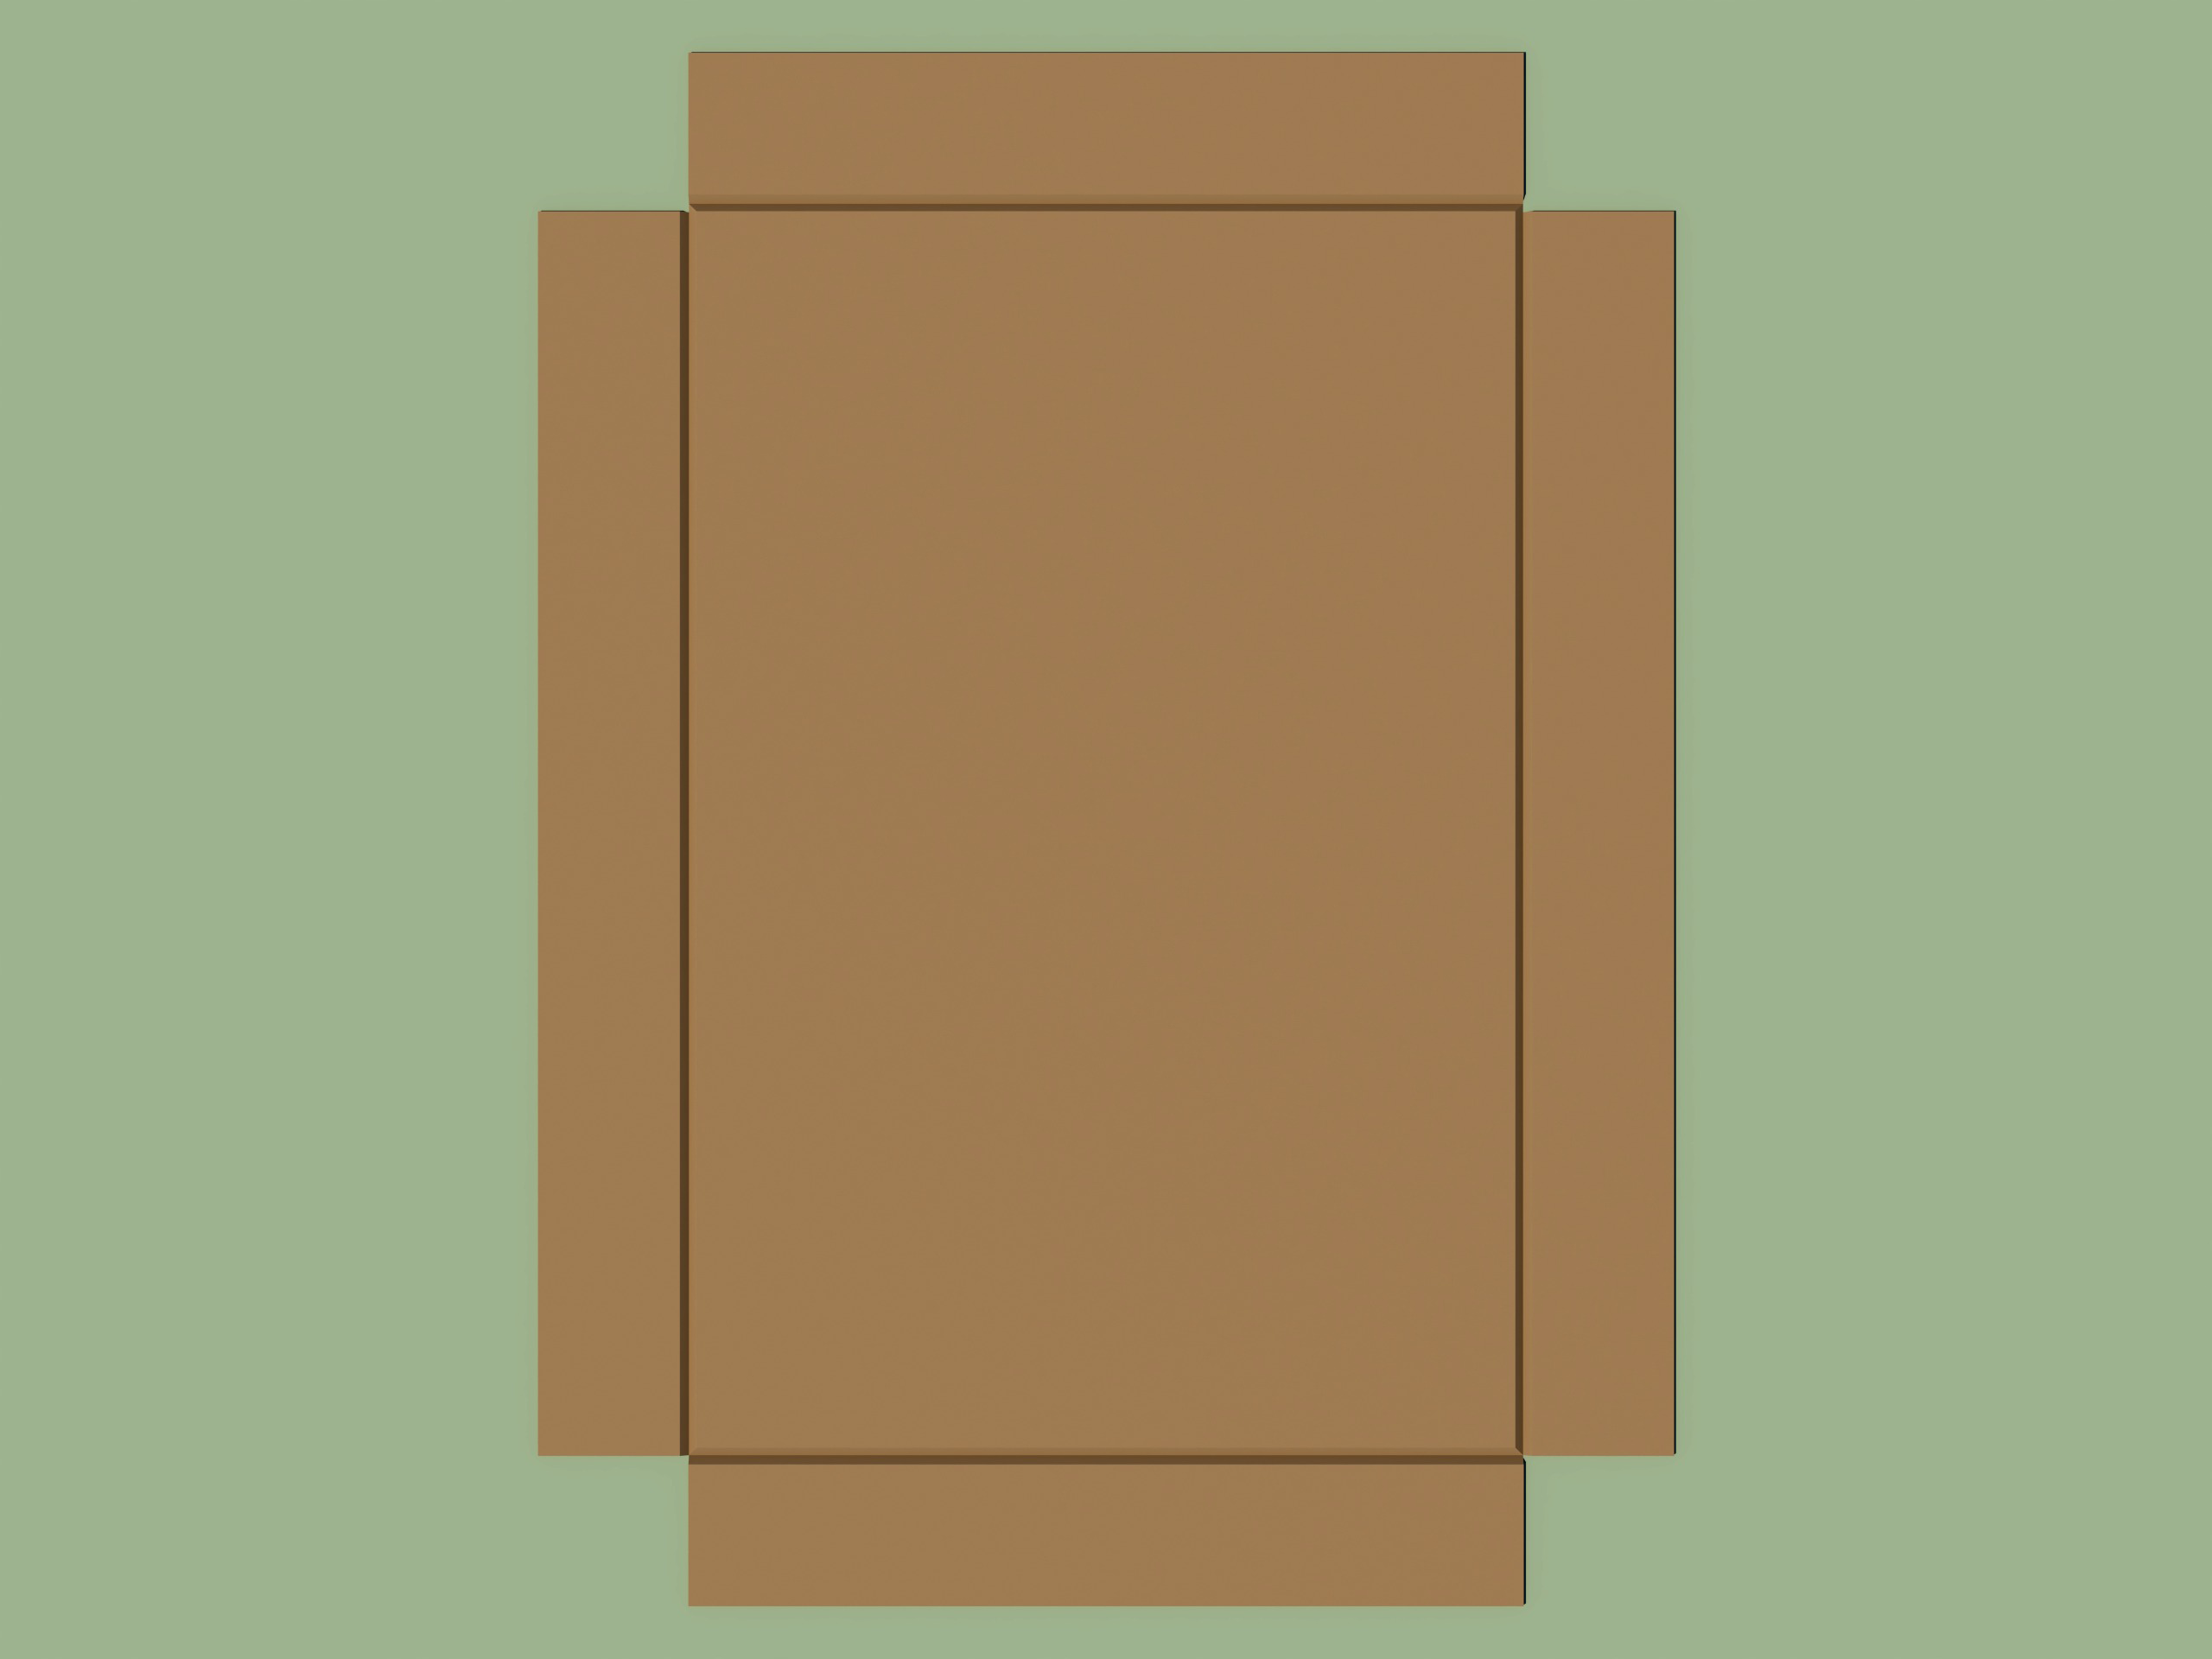
V-groove cutting for precise bending line
Step 3
Clean the MDF or plywood substrate thoroughly. Apply adhesive using a roller applicator — vertically on the board and horizontally on the back of the laminate to ensure full surface contact.
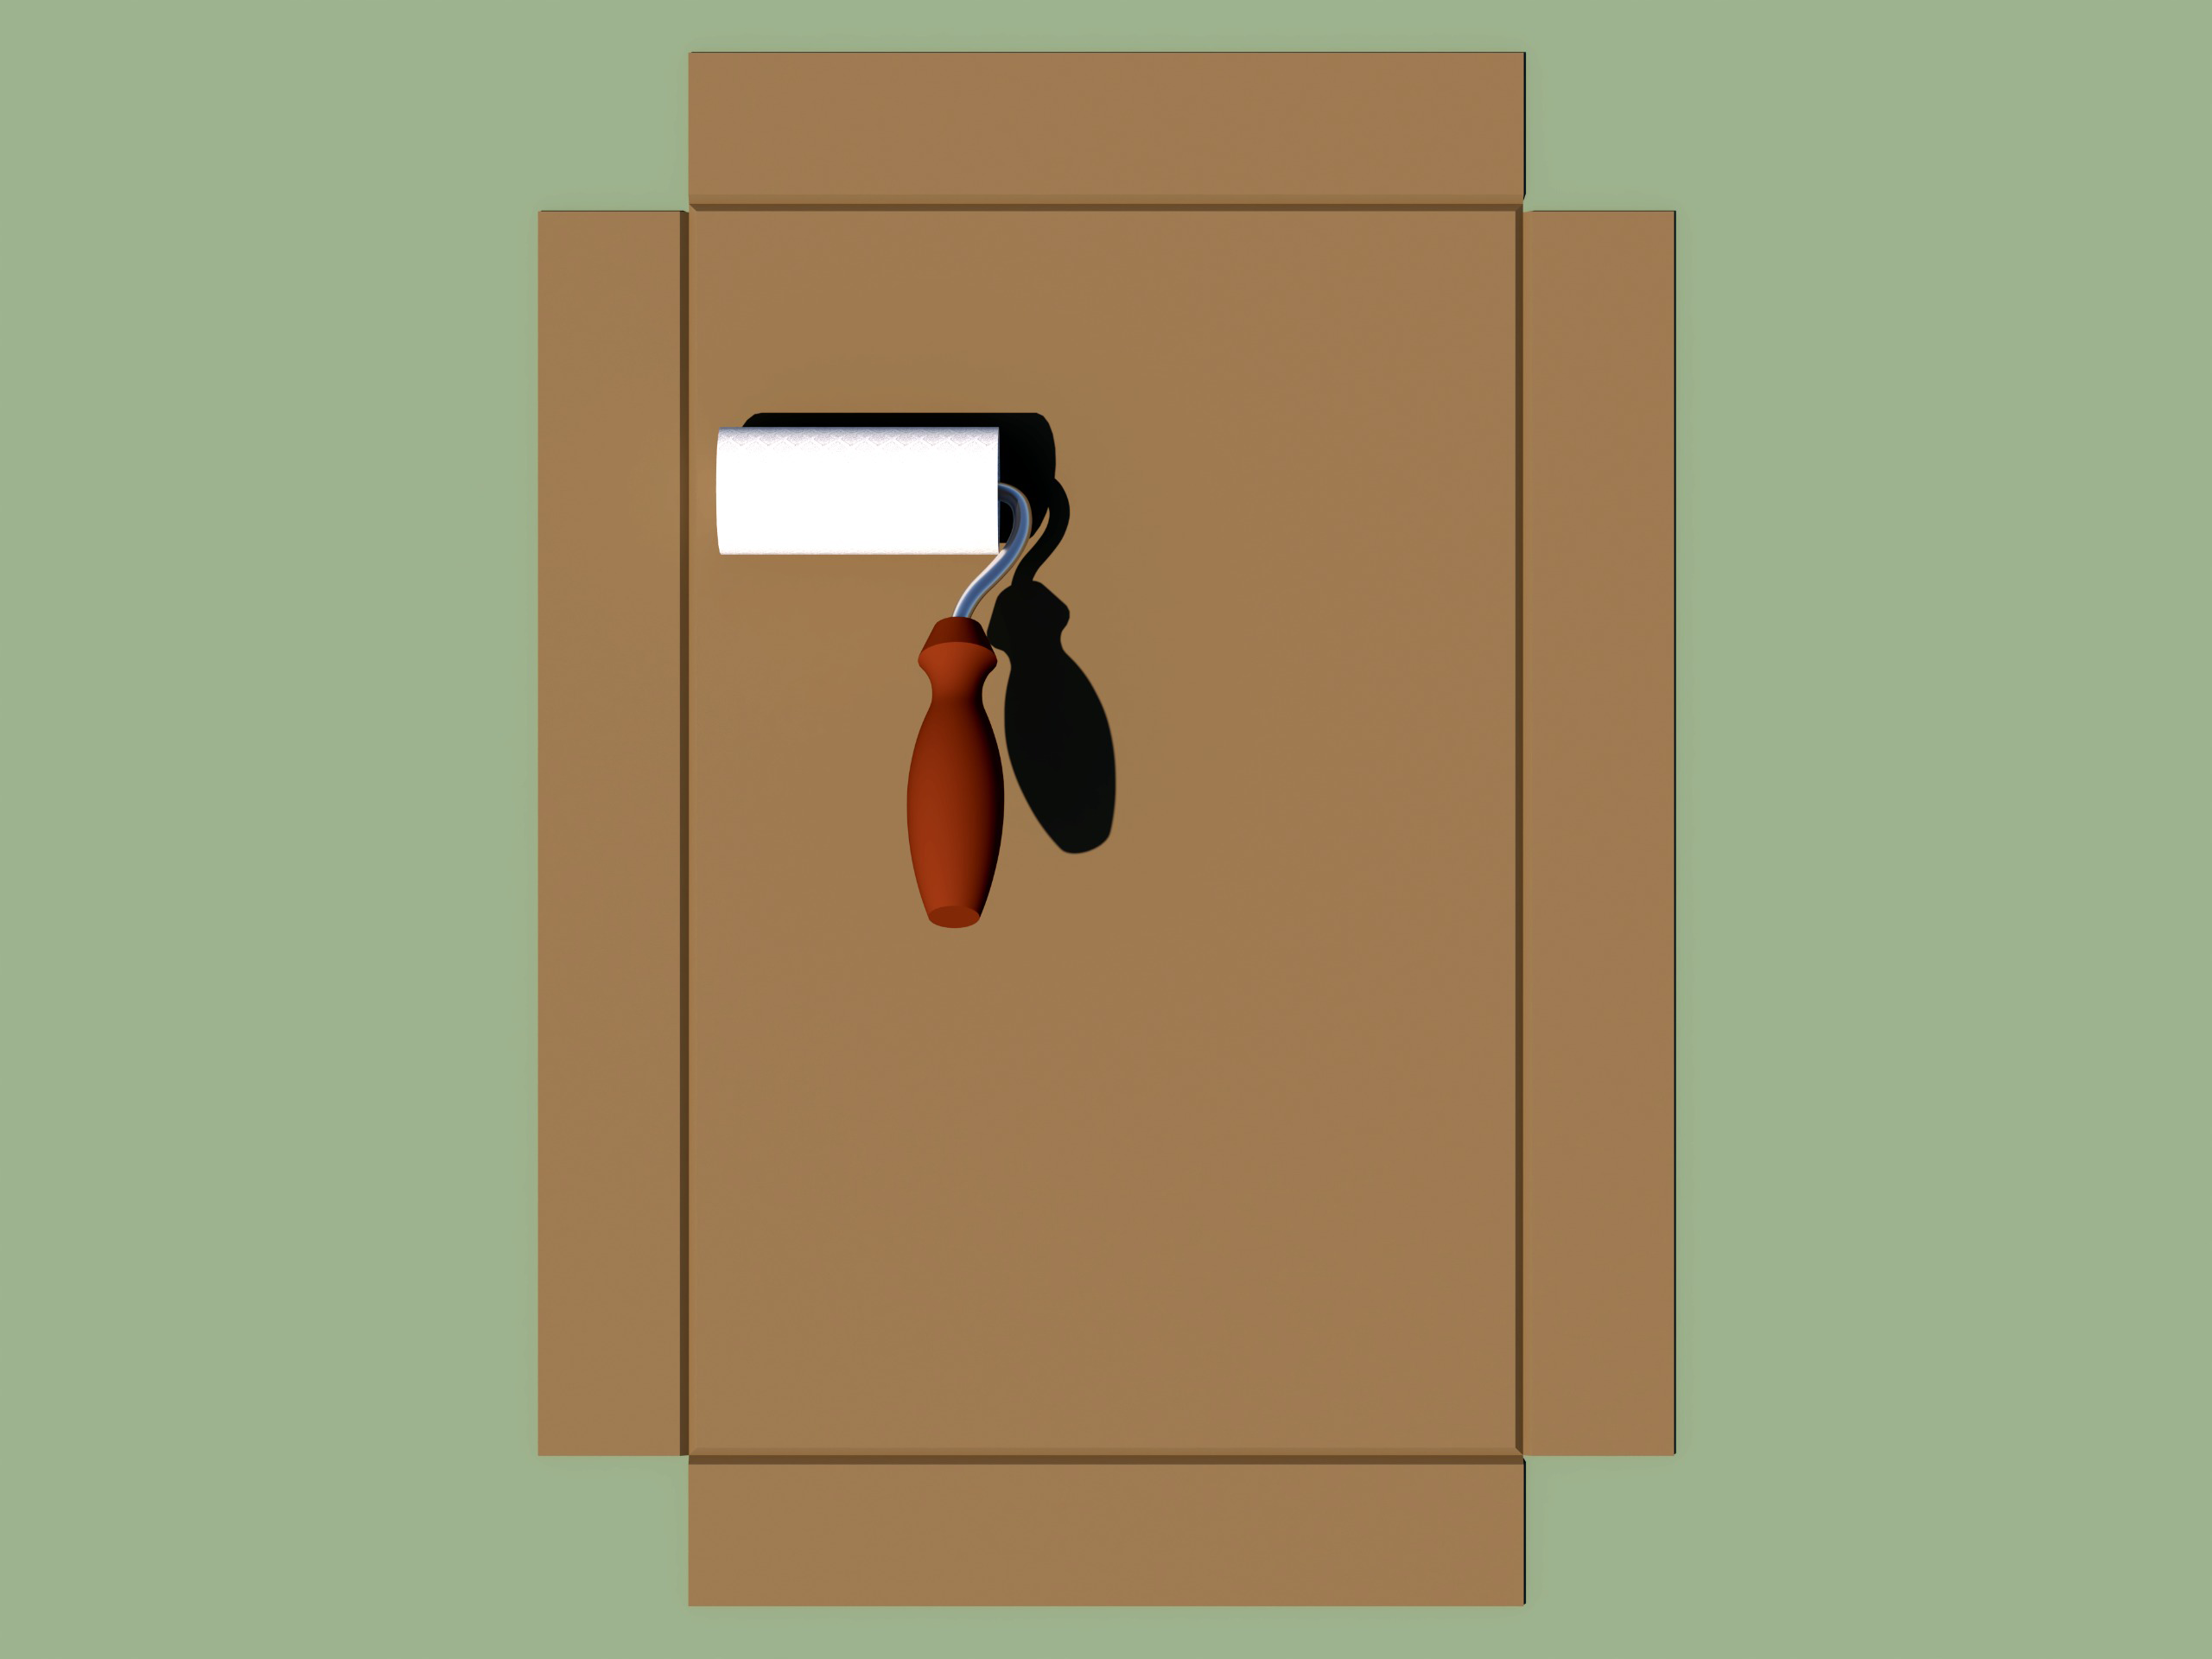
Adhesive application for secure bonding
Step 4
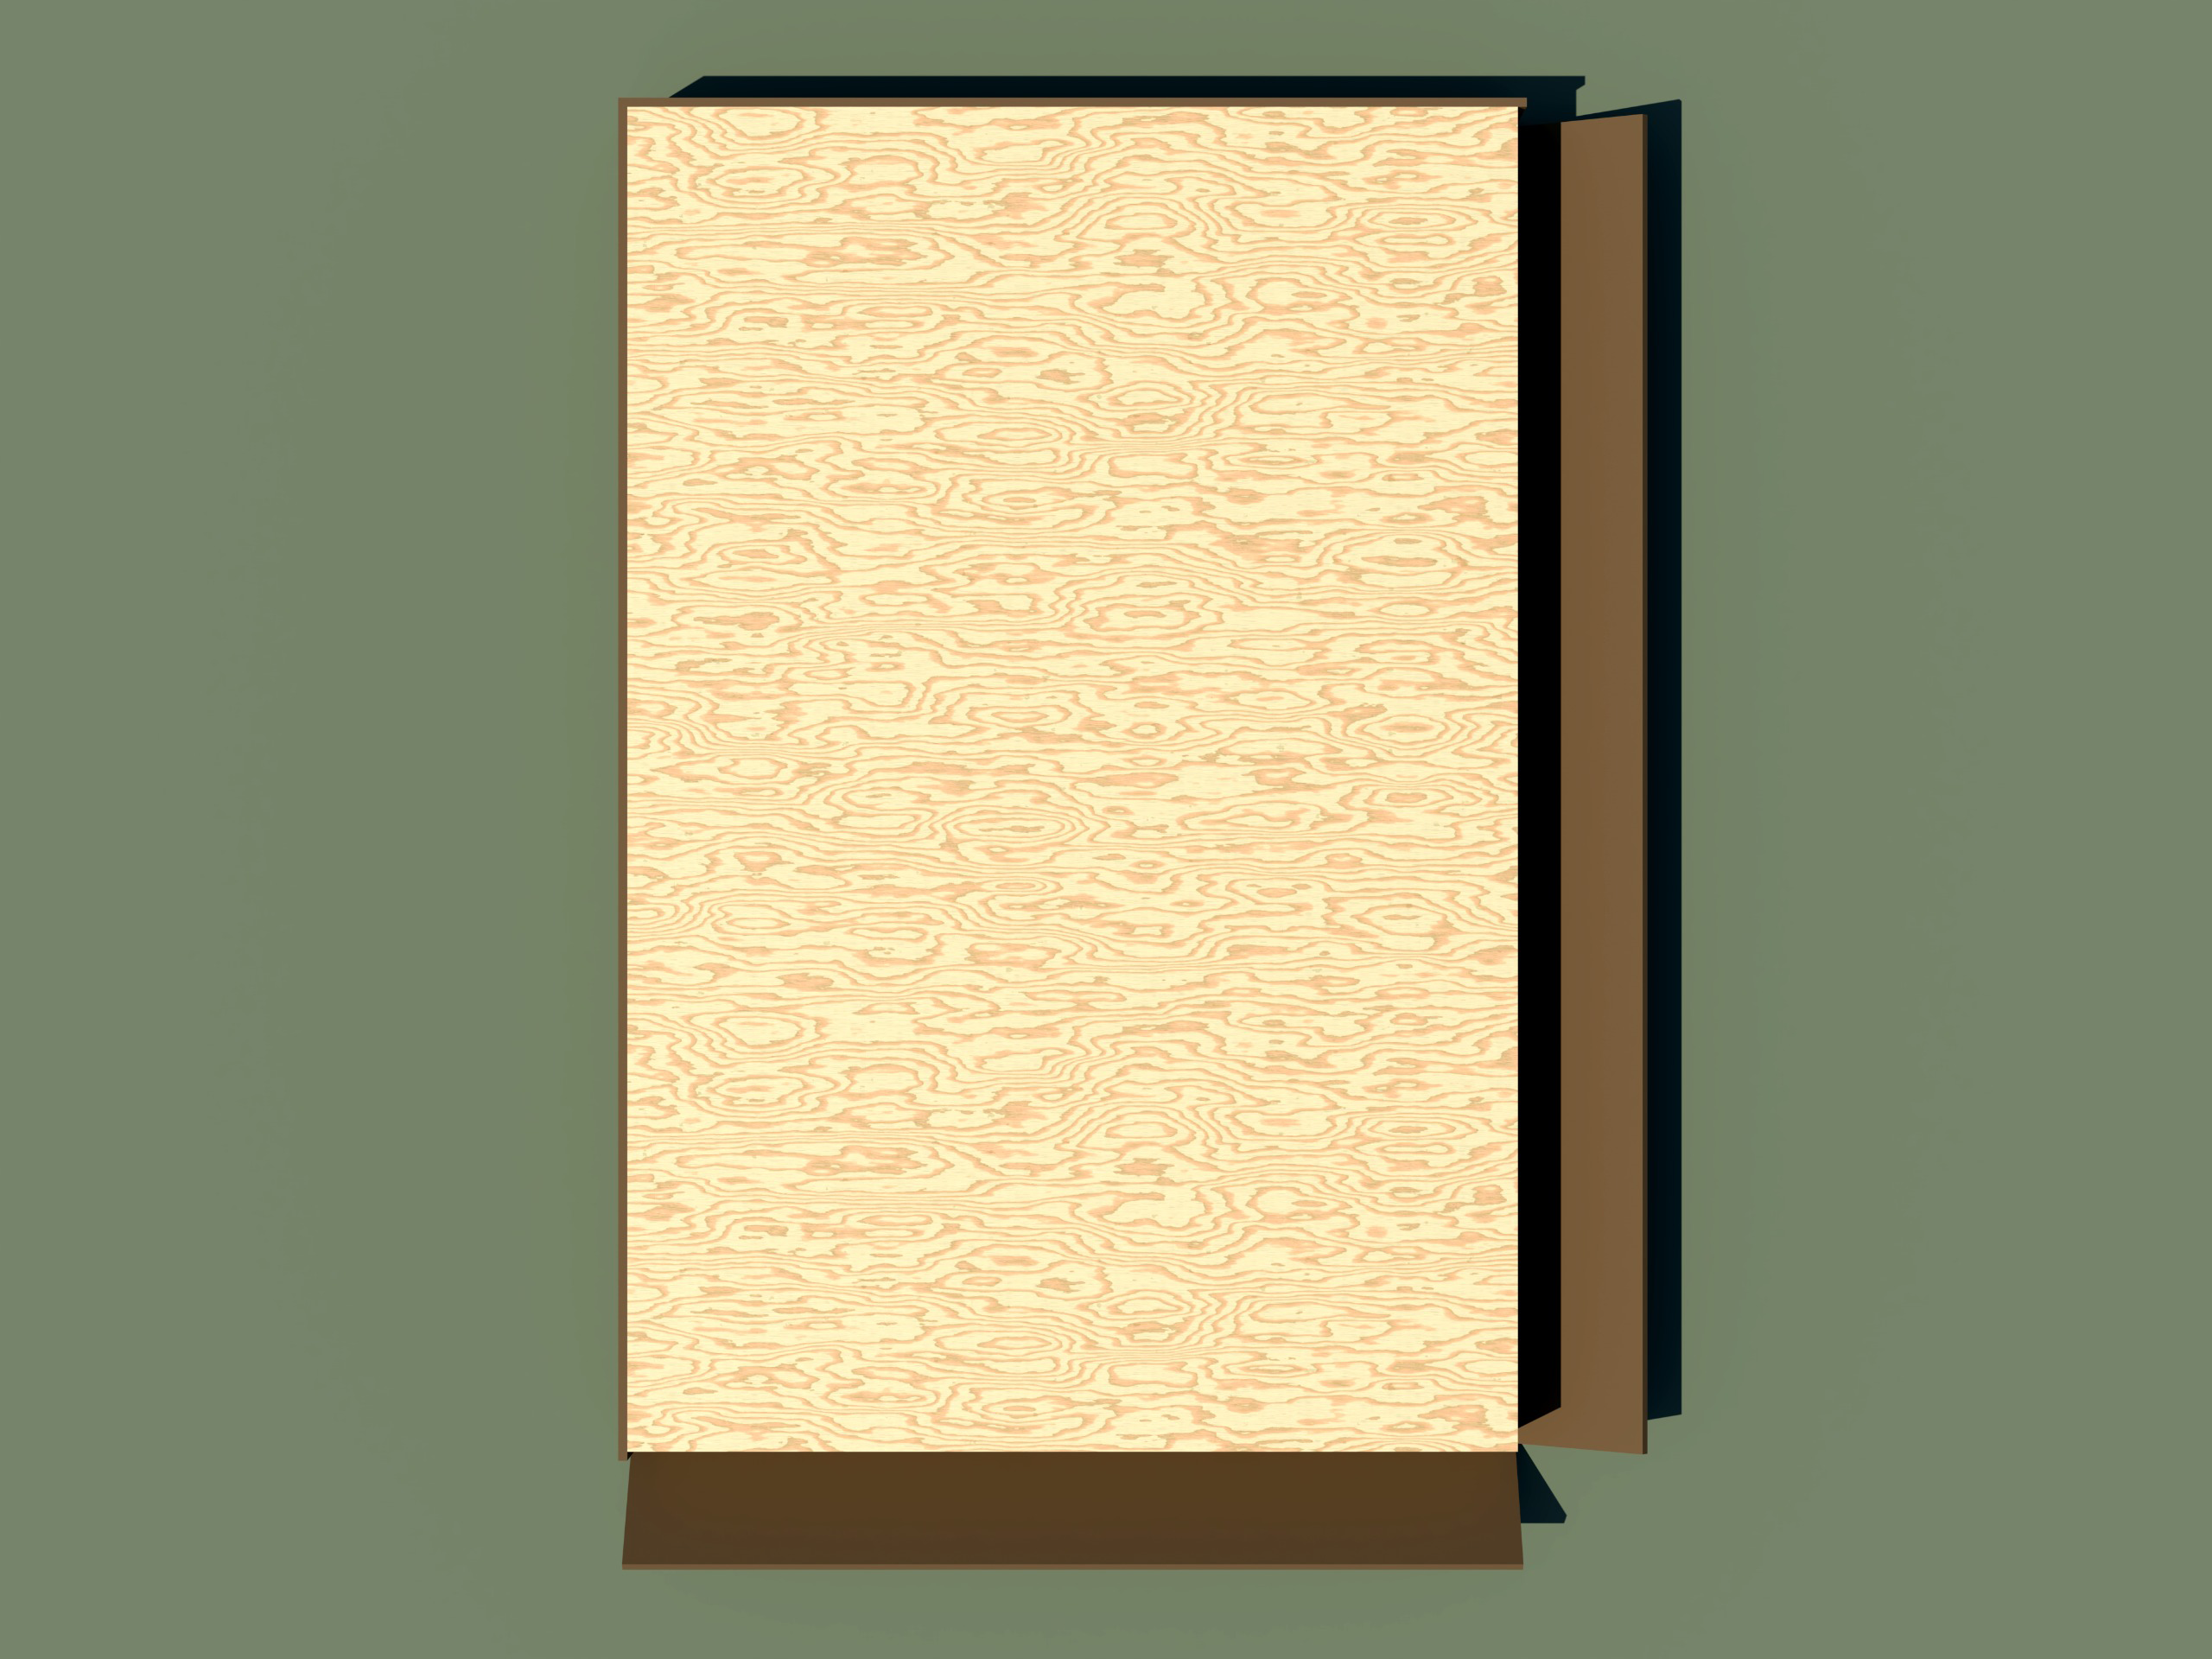
Carefully bend the sheet along the groove to achieve a clean 90° fold. Trim any excess material using a mini hexa blade or scissors.
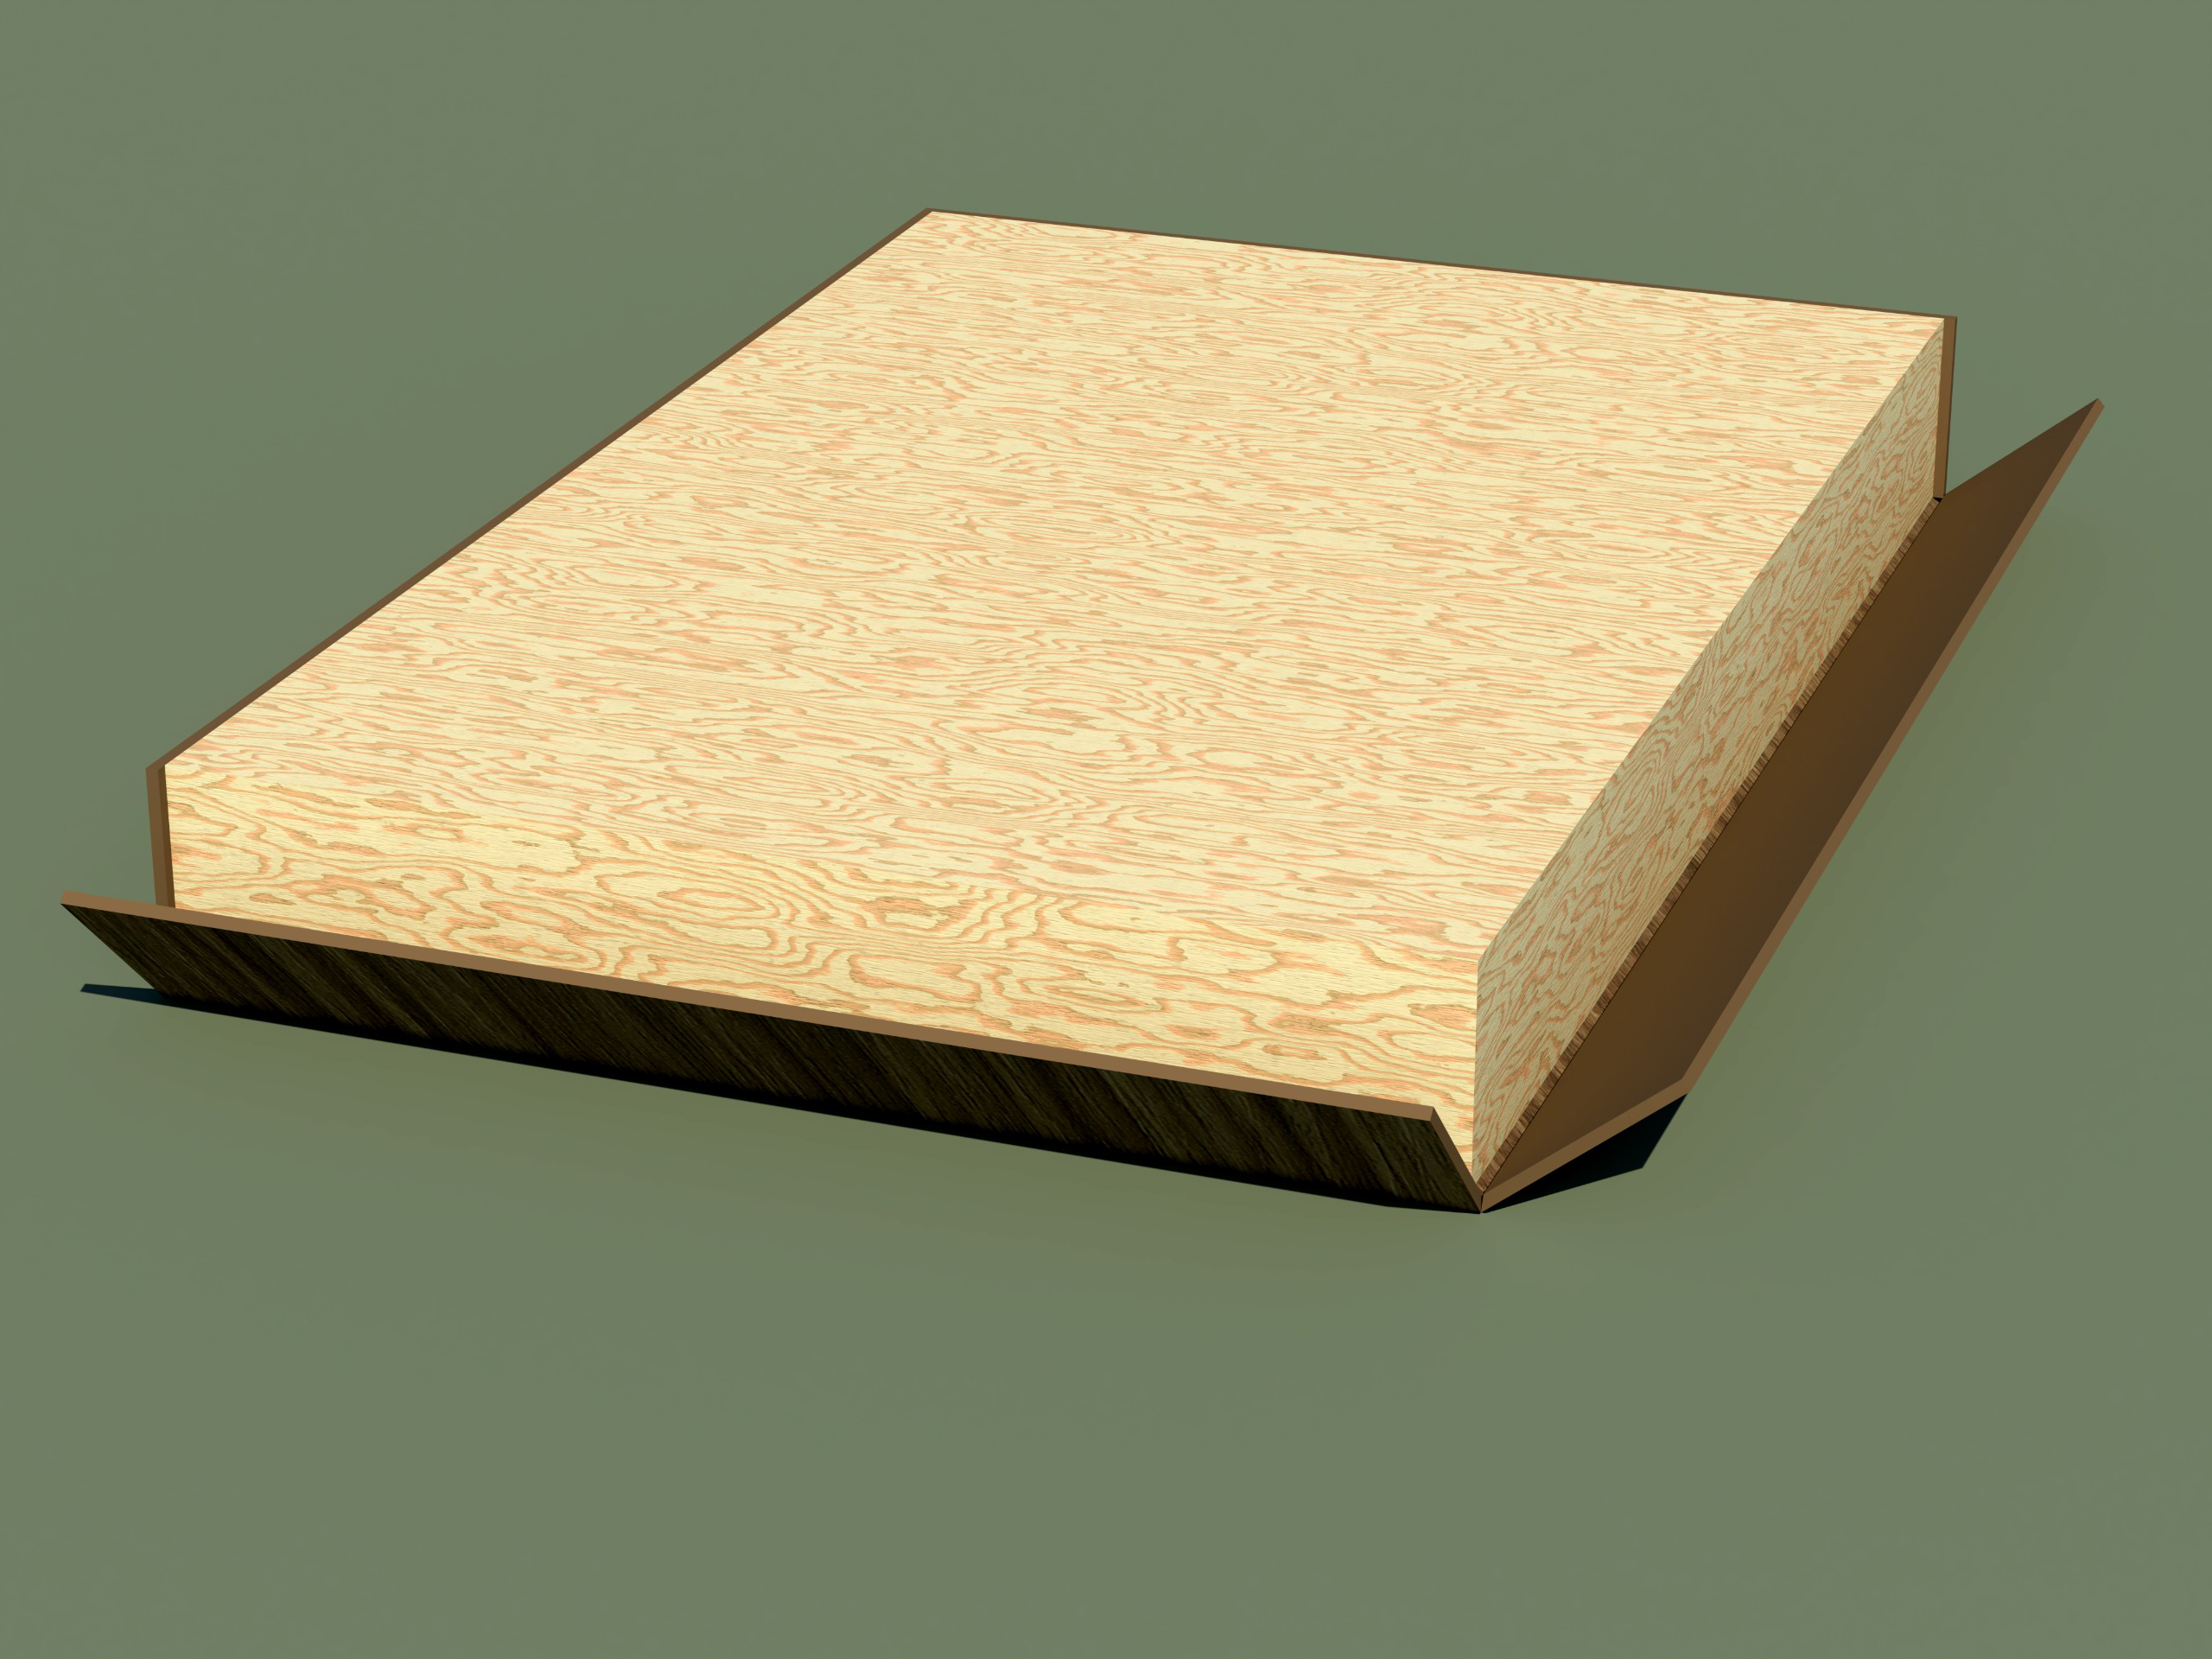
Achieving clean 90° bend along groove line
Step 5
Fix the laminate to the board, pressing out air with a soft cloth. Apply masking tape along the edges and secure the panel using a C-clamp or weighted pressure. Allow it to set for 24 hours.
Securing laminate with pressure during curing
Step 6
Once cured, remove the tape, clean the edges with a hand plane, and only remove the PE protective film after the furniture is fully ready.
Final edge cleaning and protective film removal